
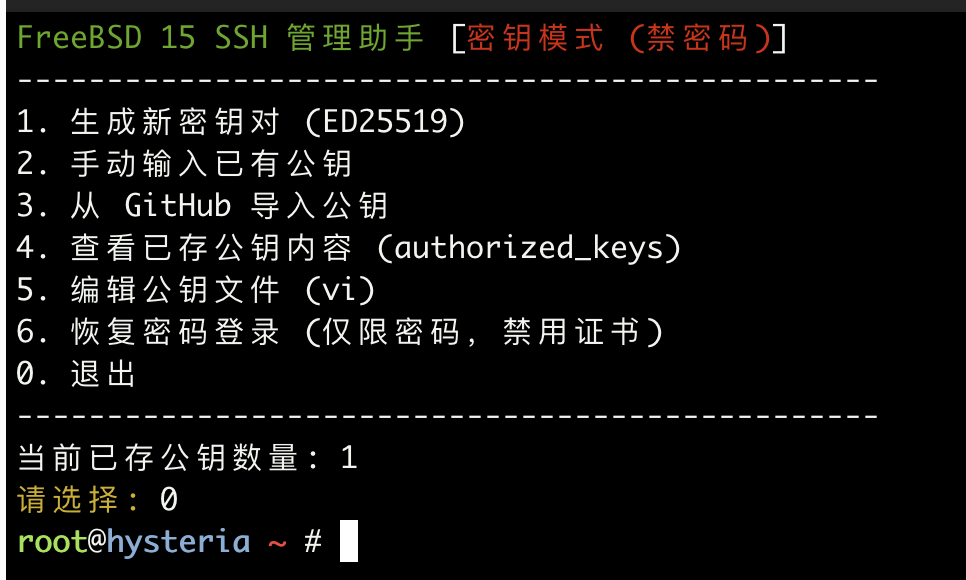
这篇记录 FreeBSD 专用的 SSH 公钥导入脚本。脚本可以从 GitHub 用户主页拉取公开 SSH key,写入服务器的 authorized_keys,并自动调整 sshd_config 里的关键认证参数。
它的用途很直接:新服务器装好以后,不用手动复制公钥、不用逐项改 SSH 配置,运行脚本后选择导入 GitHub 公钥,再检查一次配置即可。
使用前提醒
这类脚本会修改 SSH 登录策略。执行前请先确认当前 SSH 连接稳定,并且不要立刻关闭当前终端窗口。
更稳妥的做法是:脚本执行完成后,保持当前窗口不断开,再新开一个终端窗口测试登录。确认新窗口能正常用密钥登录以后,再退出旧连接。
GitHub 公钥地址格式是:
https://github.com/<你的GitHub用户名>.keys如果还没有把自己的 SSH 公钥上传到 GitHub,需要先在 GitHub 账号设置里添加公钥。
root 用户版本
如果你希望直接配置 root 用户的 SSH 密钥登录,可以在 FreeBSD root 环境下执行:
fetch -o freebsd_ssh_key_manage.sh https://raw.githubusercontent.com/hanigege/scripts/main/freebsd_ssh_key_manage.sh && chmod +x freebsd_ssh_key_manage.sh && ./freebsd_ssh_key_manage.sh这个版本配置的是 root 用户的 authorized_keys。脚本执行完成后,应重点核对 /etc/ssh/sshd_config 里的配置项。
root 用户配置项核对
root 用户版本推荐状态如下:
UsePAM no
PermitRootLogin prohibit-password
PasswordAuthentication no
PubkeyAuthentication yes
ChallengeResponseAuthentication no
KbdInteractiveAuthentication no
这些配置的含义是:
UsePAM no:关闭 PAM 认证,避免系统通过其他交互方式继续询问密码。PermitRootLogin prohibit-password:允许 root 使用密钥登录,但禁止 root 密码登录。PasswordAuthentication no:关闭标准密码认证。PubkeyAuthentication yes:启用 SSH 公钥认证。ChallengeResponseAuthentication no:关闭挑战响应认证。KbdInteractiveAuthentication no:关闭键盘交互认证,这是 FreeBSD 上堵住密码入口的关键项。
普通用户版本
如果你希望禁止 root 直接登录,只允许普通用户通过密钥登录,可以在 root 环境下执行普通用户版本:
fetch -o ssh_manager.sh https://raw.githubusercontent.com/hanigege/scripts/main/freebsd_user_ssh_manager.sh && chmod +x ssh_manager.sh && ./ssh_manager.sh这个版本适合更常见的生产环境:root 不直接暴露给 SSH,平时用普通用户登录,需要提权时再使用 su、doas 或 sudo。
普通用户配置项核对
普通用户版本推荐状态如下:
UsePAM no
PermitRootLogin no
PasswordAuthentication no
PubkeyAuthentication yes
ChallengeResponseAuthentication no
KbdInteractiveAuthentication no
这组配置代表:
PermitRootLogin no:彻底禁止 root 直接 SSH 登录。PasswordAuthentication no:关闭密码登录。PubkeyAuthentication yes:只允许持有对应私钥的用户登录。ChallengeResponseAuthentication no和KbdInteractiveAuthentication no:关闭 FreeBSD 上可能继续触发密码输入的交互式认证。
验证 SSH 登录
脚本完成后,先不要断开当前连接。另开一个终端窗口测试:
ssh 普通用户名@服务器IP如果你使用的是指定私钥文件:
ssh -i /path/to/private_key 普通用户名@服务器IProot 用户版本则按实际情况测试:
ssh root@服务器IP确认新窗口可以正常登录后,再退出旧的 root 连接。这样即使配置写错,也还有一个已经在线的终端可以回滚。
常见排查
如果密钥登录失败,先检查目标用户家目录权限:
chmod 700 ~/.ssh
chmod 600 ~/.ssh/authorized_keys
再检查 SSH 服务配置语法:
sshd -t如果配置没有错误,重启 SSH 服务:
service sshd restart最后查看当前生效配置:
sshd -T | grep -Ei 'usepam|permitrootlogin|passwordauthentication|pubkeyauthentication|challengeresponseauthentication|kbdinteractiveauthentication'这样可以确认脚本写入的设置是否真正被 sshd 读取。